In recent years, custom PVC patches have gained popularity for their durability, vibrant colors, and versatile applications. Whether you’re looking to create patches for your business, sports team, or personal use, making them at home can be a rewarding and cost-effective endeavor. In this guide, we’ll take you through a step-by-step process on how to make your own custom PVC patches right from the comfort of your home.
Materials Needed:
Before diving into the process, gather these essential materials:
- PVC (Polyvinyl chloride) sheets
- Design template
- Scissors or a cutting tool
- Permanent markers or paints
- Heat-resistant tape
- Heat press or iron
- Parchment paper
- Optional: Velcro backing for patches
Step 1: Designing Your Patch
Start by creating or selecting a design for your patch. This could be your company logo, a team emblem, or any artwork you want to transform into a patch. Use design software or draw it by hand on paper. Ensure the design is clear and distinct, suitable for cutting into a patch shape.
Step 2: Preparing the PVC Sheet
Place your PVC sheet flat on a cutting mat or sturdy surface. Transfer your design onto the PVC sheet using a permanent marker or pencil. If using a printed design, secure it over the PVC sheet with tape to prevent shifting during cutting.
Step 3: Cutting the Patch
Carefully cut out your design from the PVC sheet using sharp scissors or a cutting tool. Take your time to ensure precise edges, as this will define the shape and appearance of your patch.
Step 4: Adding Color (Optional)
If your design requires colored details, use permanent markers or acrylic paints to fill in the areas on the PVC patch. Allow the colors to dry completely before proceeding.
Step 5: Heat Press or Iron Application
To give your PVC patch its distinct 3D texture and ensure it adheres well, you’ll need a heat press or a household iron. Set your heat press to the recommended temperature for PVC materials (typically around 300°F) or adjust your iron to the highest setting without steam.
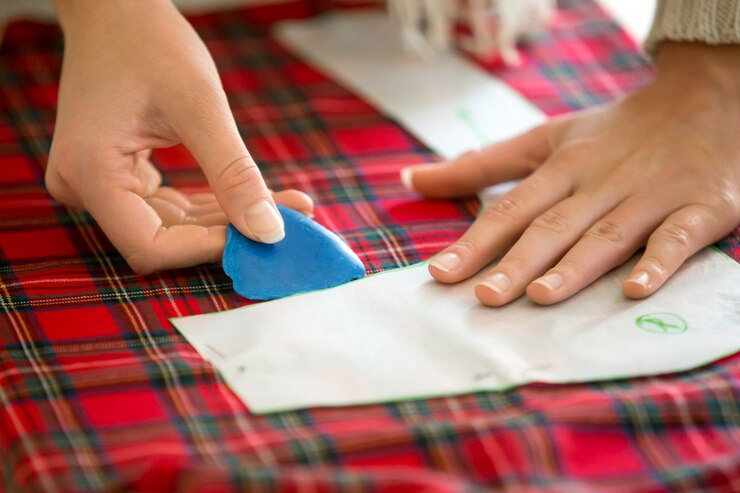
Step 6: Applying the Patch
Place your PVC patch on the desired fabric surface (such as a jacket or bag). Cover it with a piece of parchment paper to protect both the patch and the fabric. Press down firmly with the heated press or iron for about 10-15 seconds, applying steady pressure.
Step 7: Cooling and Finishing
Carefully lift the parchment paper and allow the patch to cool for a few minutes. Once cooled, gently peel off the backing paper or tape from the PVC patch. If you’re adding a Velcro backing, now is the time to affix it securely to the patch.
Step 8: Final Touches
Inspect your custom PVC patch for any imperfections or areas needing touch-ups. Use a fine-tip marker or paint to refine details if necessary. Your DIY custom PVC patch is now ready to use or distribute!
Conclusion
Making your own custom PVC patches at home is a fun and creative process that allows you to personalize your belongings or create unique merchandise for your business or organization. By following these steps and using quality materials, you can achieve professional-looking results comparable to those from a USA patch company. Experiment with different designs and colors to unleash your creativity and enjoy the satisfaction of wearing or sharing your handmade patches.
Whether you’re a hobbyist, entrepreneur, or simply looking to add a personal touch to your wardrobe, DIY custom PVC patches are a fantastic way to express yourself. Start crafting today and see how these durable, vibrant patches can enhance your style or brand identity effortlessly.